Go の Web アプリケーションフレームワーク Revel を試してみた
2020-08-20Go 歴半年くらいで、主に Serverless Framework で Lambda 関数を書くという用途で使っています。今回は Go の Web アプリケーションフレームワーク Revel を触ってみようということで、公式のチュートリアルをやってみます。
目次
概要
Go の Web アプリケーションフレームワークである Revel の公式チュートリアルを一通りやってみます。
Go のバージョンは 1.14.4 です。
$ go version
go version go1.14.4 darwin/amd64
公式チュートリアル
ここからは、 Revel の公式チュートリアルをやっていきます。
インストール
まずは Revel フレームワークと Revel コマンドをインストールします。
$ go get github.com/revel/revel
$ go get github.com/revel/cmd/revel
ヘルプとバージョンを確認しておきます。
$ revel --help
Usage:
  revel [OPTIONS] <command>

Application Options:
  -v, --debug                If set the logger is set to verbose
      --historic-run-mode    If set the runmode is passed a string not json
      --historic-build-mode  If set the code is scanned using the original parsers, not the go.1.11+
  -X, --build-flags=         These flags will be used when building the application. May be specified multiple times, only applicable for Build, Run, Package, Test commands
      --gomod-flags=         These flags will execute go mod commands for each flag, this happens during the build process

Help Options:
  -h, --help                 Show this help message

Available commands:
  build
  clean
  new
  package
  run
  test
  version

$ revel version
Revel executing: displays the Revel Framework and Go version
Revel Framework	:	Unknown	(1.0.0 remote master branch)
Revel Cmd	:	1.0.0	(1.0.0 remote master branch)
Revel Modules	:	Unknown	(1.0.0 remote master branch)


Go Location:/usr/local/bin/go

go version go1.14.4 darwin/amd64
アプリケーション作成
続いて、 my-app という名前の Revel アプリケーションを作成します。
$ revel new -a my-app
Revel executing: create a skeleton Revel application
Your application has been created in:
   /Users/hoge/Projects/go-revel/my-app

You can run it with:
   revel run -a  my-app
作成が完了すると、下記のようなディレクトリ構造が作られます。
$ tree -a -L 2
.
├── .gitignore
├── README.md
├── app
│   ├── controllers
│   ├── init.go
│   ├── routes
│   ├── tmp
│   └── views
├── conf
│   ├── app.conf
│   └── routes
├── go.mod
├── go.sum
├── messages
│   └── sample.en
├── none
├── public
│   ├── css
│   ├── fonts
│   ├── img
│   └── js
├── target
│   └── app
└── tests
    └── apptest.go
起動
revel run コマンドでアプリケーションを起動します。
$ cd my-app
$ revel run -a my-app
Revel executing: run a Revel application
WARN  19:51:15 harness.go:175: No http.addr specified in the app.conf listening on localhost interface only. This will not allow external access to your application
Changed detected, recompiling
Parsing packages, (may require download if not cached)... Completed
INFO  19:51:25    app     run.go:34: Running revel server
INFO  19:51:25    app   plugin.go:9: Go to /@tests to run the tests.
Revel engine is listening on.. localhost:59472
Revel proxy is listening, point your browser to : 9000

Time to recompile 10.823098593s
コンパイルが完了したあと http://localhost:9000 にアクセスすると、ページが表示されます。
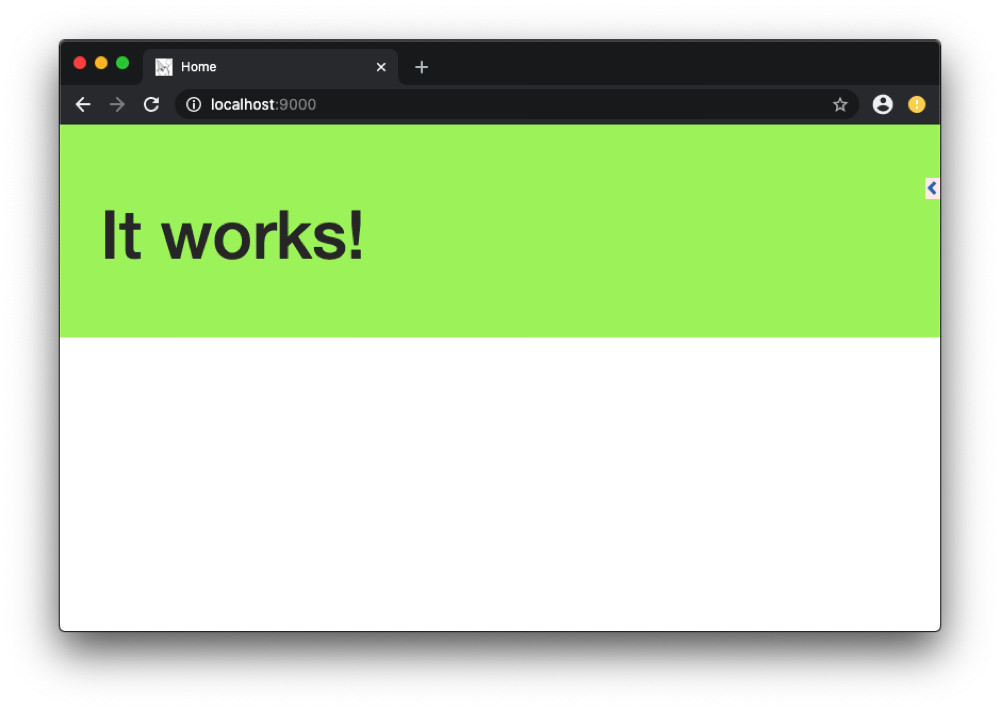
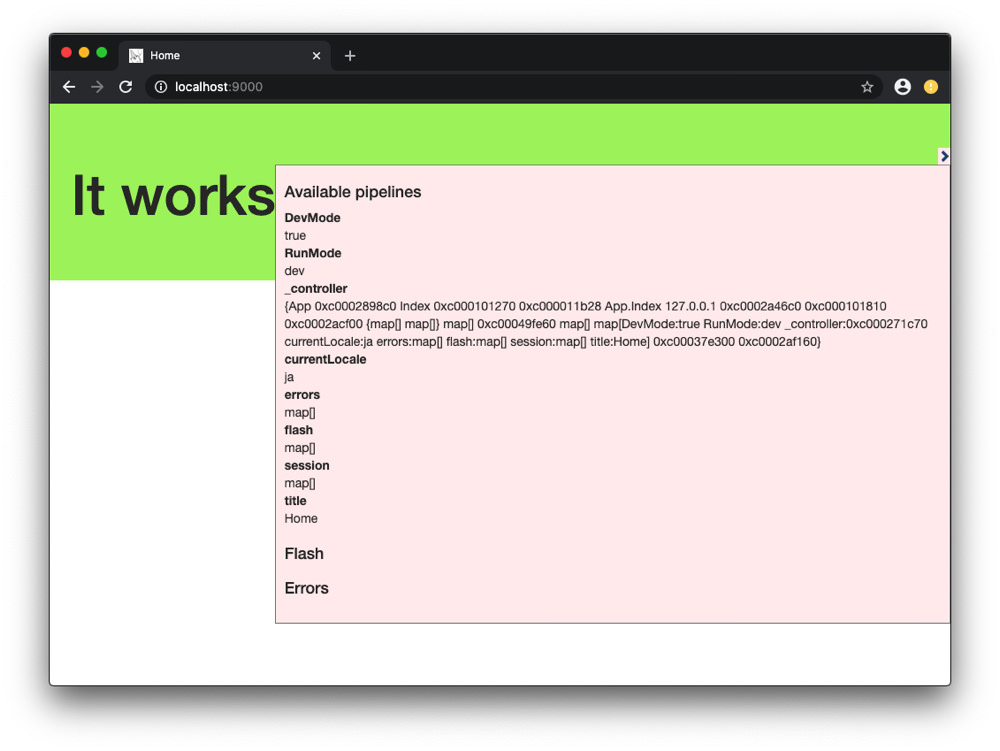
右に見えている三角アイコンをクリックすると、デバッグ情報を確認することができます。
ちなみに Revel では Go のプログラムを変更した時点で自動で再コンパイルが実行されます。
リクエストの処理フロー
では、実際のリクエストが処理される流れを見てみます。
ルーティング
まず、リクエストのルーティングは conf/routes で設定します。
# Routes Config
#
# This file defines all application routes (Higher priority routes first)
#

module:testrunner
# module:jobs


GET     /                                       App.Index
App.Index とは、対応するコントローラーのメソッドを表します。
コントローラー
前述の通り、 conf/routes 内でルーティングに対応するコントローラーのメソッドが指定されています。 App.Index とは app/controllers/app.go 内の Index() メソッドを指します。
package controllers

import (
	"github.com/revel/revel"
)

type App struct {
	*revel.Controller
}

func (c App) Index() revel.Result {
	return c.Render()
}
テンプレートファイル
このルーティングに対応するテンプレートファイルは app/views/App/Index.html となります。
{{set . "title" "Home"}}
{{template "header.html" .}}

<header class="jumbotron" style="background-color:#A9F16C">
  <div class="container">
    <div class="row">
      <h1>It works!</h1>
      <p></p>
    </div>
  </div>
</header>

<div class="container">
  <div class="row">
    <div class="span6">
      {{template "flash.html" .}}
    </div>
  </div>
</div>

{{template "footer.html" .}}
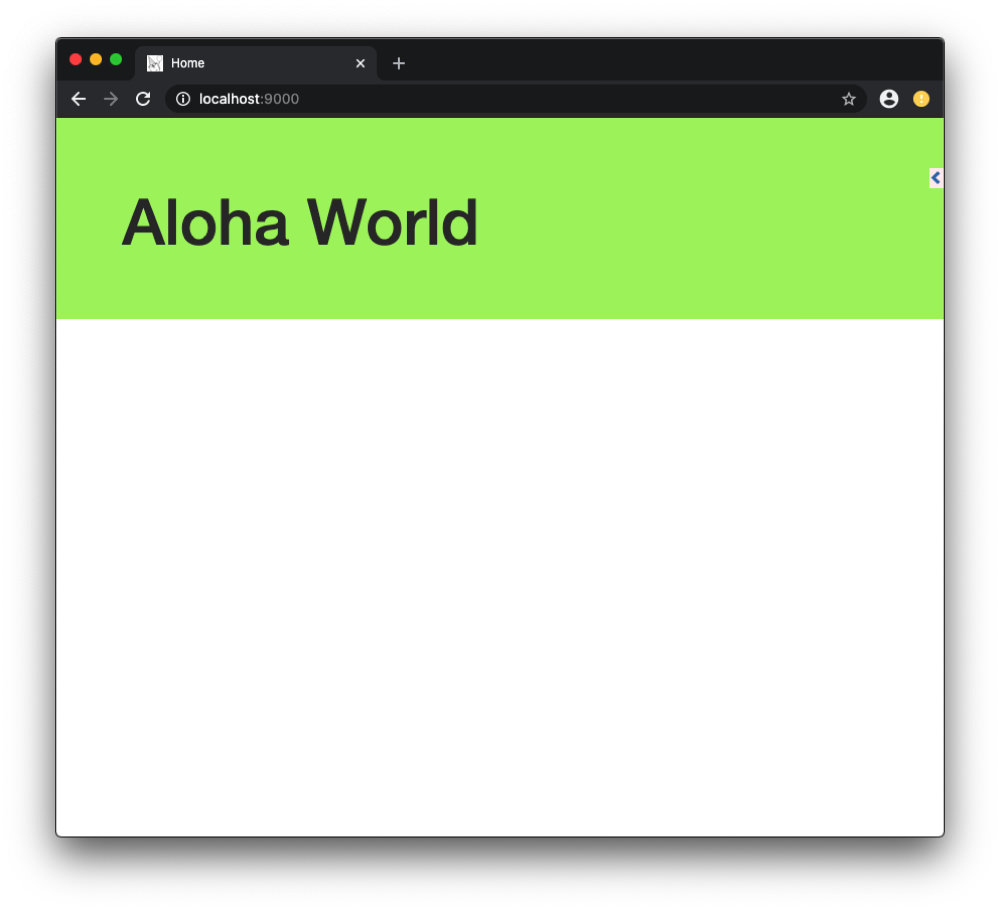
コントローラーからテンプレートへのデータ渡し
コントローラーからテンプレートへデータを渡すには、コントローラーとテンプレートをそれぞれ次のように変更します。
-
コントローラー
func (c App) Index() revel.Result { greeting := "Aloha World" return c.Render(greeting) } -
テンプレート
<div class="row">
  <h1>{{.greeting}}</h1>
  <p></p>
</div>
Hello World アプリを作ってみる
続いて、簡単なフォームを用いたアプリケーションを作成してみます。
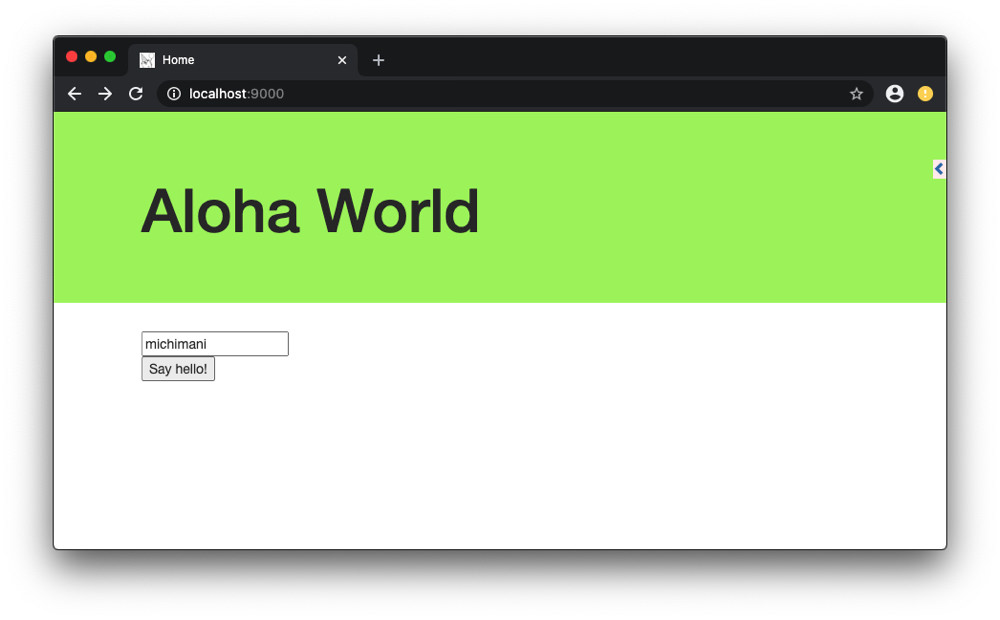
テンプレートファイルの変更・追加
既存のテンプレートファイル app/views/App/Index.html に下記のフォームを追加します。
  <div class="container">
    <div class="row">
      <div class="span6">
        {{template "flash.html" .}}
+       <form action="/App/Hello" method="GET">
+         <input type="text" name="myName" /><br/>
+         <input type="submit" value="Say hello!" />
+       </form>
      </div>
    </div>
  </div>

  {{template "footer.html" .}}
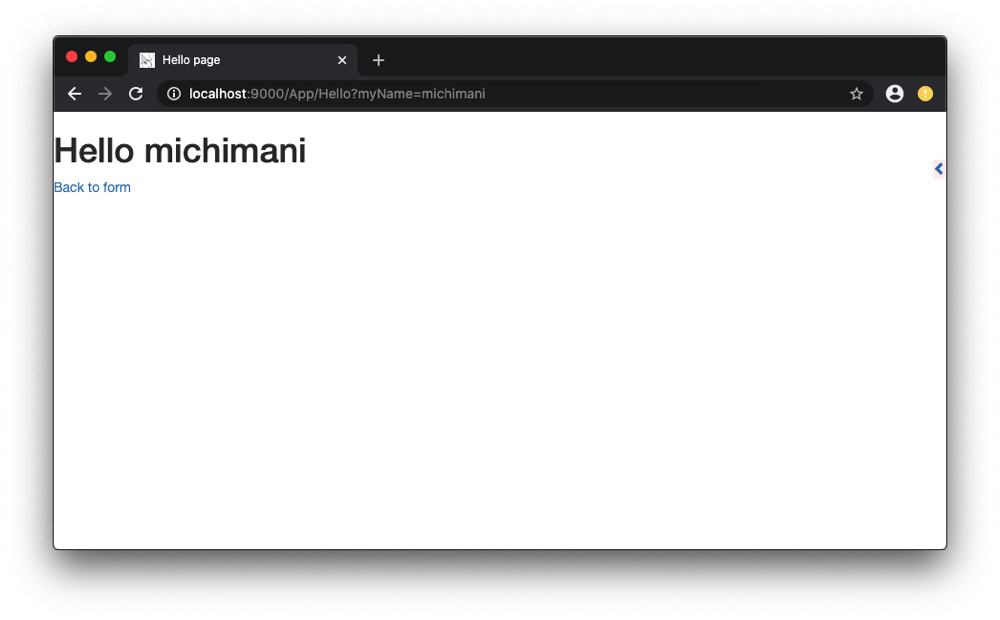
そして、フォーム送信後に表示されるページのテンプレートファイルを、下記の内容で app/views/App/Hello.html という名前で作成します。
{{set . "title" "Hello page"}}
{{template "header.html" .}}

<h1>Hello {{.myName}}</h1>
<a href="/">Back to form</a>

{{template "footer.html" .}}
コントローラーにメソッド追加
続いて、コントローラー app/controllers/app.go に下記のメソッドを追加します。
func (c App) Hello(myName string) revel.Result {
    return c.Render(myName)
}
ルーティングの追加
最後に、 conf/routes にルーティングを追加します。
  GET     /                                       App.Index
+ GET     /App/Hello                              App.Hello
これで準備が整ったので、フォームに値を送信してみます。
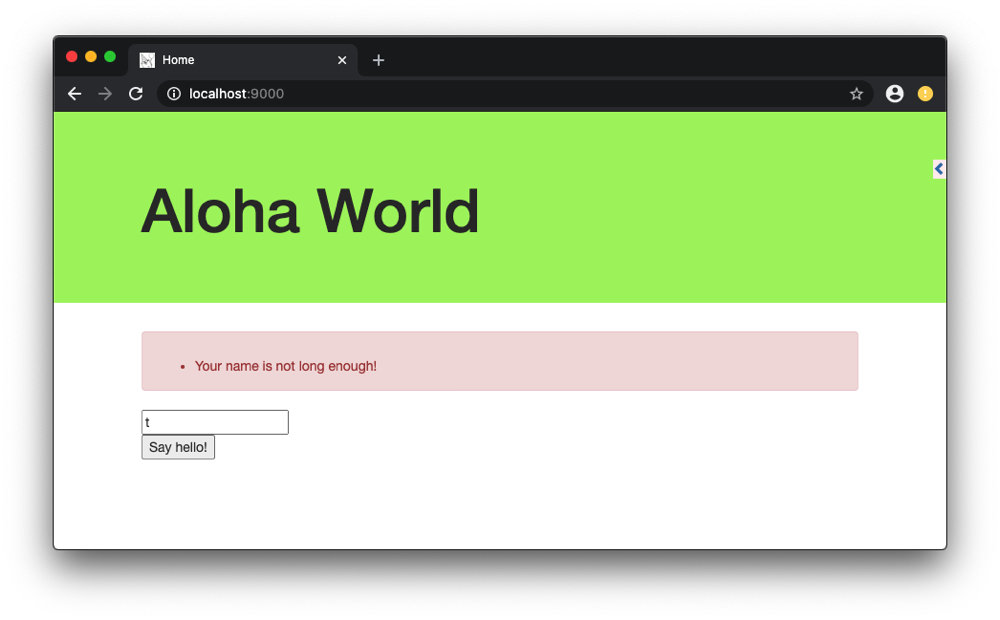
バリデーションの追加
今作ったフォームにバリデーションを追加してみます。バリデーション項目としては、必須チェックと最低文字数チェックです。
まずはコントローラー app/controllers/app.go の Hello() メソッドを次のように変更します。
  func (c App) Hello(myName string) revel.Result {
+ 	c.Validation.Required(myName).Message("Your name is required!")
+ 	c.Validation.MinSize(myName, 3).Message("Your name is not long enough!")
+
+ 	if c.Validation.HasErrors() {
+ 		c.Validation.Keep()
+ 		c.FlashParams()
+ 		return c.Redirect(App.Index)
+ 	}

  	return c.Render(myName)
  }
エラーメッセージの表示は、テンプレートファイル app/views/App/Index.html にインポートされている app/views/flash.html 内で行われます。
{{if .flash.success}}
<div class="alert alert-success">
	{{.flash.success}}
</div>
{{end}}

{{if or .errors .flash.error}}
<div class="alert alert-danger">
	{{if .flash.error}}
		{{.flash.error}}
	{{end}}
	<ul style="margin-top:10px;">
		{{range .errors}}
			<li>{{.}}</li>
		{{end}}
	</ul>
</div>
{{end}}
そして、フォーム部分を次のように変更します。
  <form action="/App/Hello" method="GET">
-   <input type="text" name="myName" /><br/>
+   {{with $field := field "myName" .}}
+     <input type="text" name="{{$field.Name}}" value="{{$field.Flash}}"/><br/>
+   {{end}}
    <input type="submit" value="Say hello!" />
  </form>
まとめ
Go の Web アプリケーションフレームワーク Revel の公式チュートリアルをやってみた話でした。
Revel を使ったサンプルアプリケーションはいくつか公開されているので、次回は DB へのアクセスも含めたサンプルアプリケーションを触ってみようと思います。
comments powered by Disqus