Amazon Transcribe で機密情報を自動で削除できるようになったみたいなので試してみた
2020-02-28先日 JAWS-UG 初心者支部のハンズオンで初めて触った Amazon Transcribe ですが、文字起こしの際に個人を特定できるような文言 (電話番号や口座番号など) を自動で削除してくれるというアップデートがありました。最近触ったサービスのアップデートということで、実際に試してみました。
目次
アップデートの概要
Amazon Transcribe to automatically remove sensitive personally identifiable information (PII) from your transcription results. Amazon Transcribe uses state-of-the-art machine learning technology to accurately identify and remove PII. PII removed includes social security number, credit card/bank account information and contact information such as name, email address, phone number and mailing address.
(公式アナウンスから抜粋)
AWS の文字起こしサービス Amazon Transcribe に 個人を特定できる機密情報 (Personally Identifiable Information (PII)) を自動的に削除するオプションが追加されました。 PII として認識されるのは、社会保障番号、クレジットカード番号、銀行口座番号、名前、メールアドレス、電話番号、住所などです。
アップデートが利用できるのは、 Amazon Transcribe が利用できるリージョン全てですが、サポートしている言語は現時点で en-US のみです。
詳細については公式のアナウンスを参照してください。
前提
今回は Transcribe の API を実行するスクリプトは、 Lambda 関数としてではなくローカル環境で実行します。
というのも、一旦 Lambda で実行しようとしたのですが、どうやら Lmabda の boto3 が最新になっていないため下記のようなエラーが出たからです。
Unknown parameter in input: "ContentRedaction", must be one of:
TranscriptionJobName, LanguageCode, MediaSampleRateHertz, MediaFormat, Media, OutputBucketName, OutputEncryptionKMSKeyId, Settings
アップデートで追加された Content Redaction 機能を使うには、 start_transcription_job のパラメータに ContentRedaction を指定するのですが、 boto3 が最新でないために対応していないと言われてしまいます。
この問題については公式にも書かれており、対応方法としては最新の boto3 を pip でインストールして Lambda Layer を作成し、その Layer を使うという方法です。
少し手間がかかりそうだったので、今回はローカルで最新の boto3 をインストールして試してみることにします。
やってみる
では早速やってみます。
音声ファイルの準備
スクリプトの実装の前に、もととなる音声ファイルが必要になります。
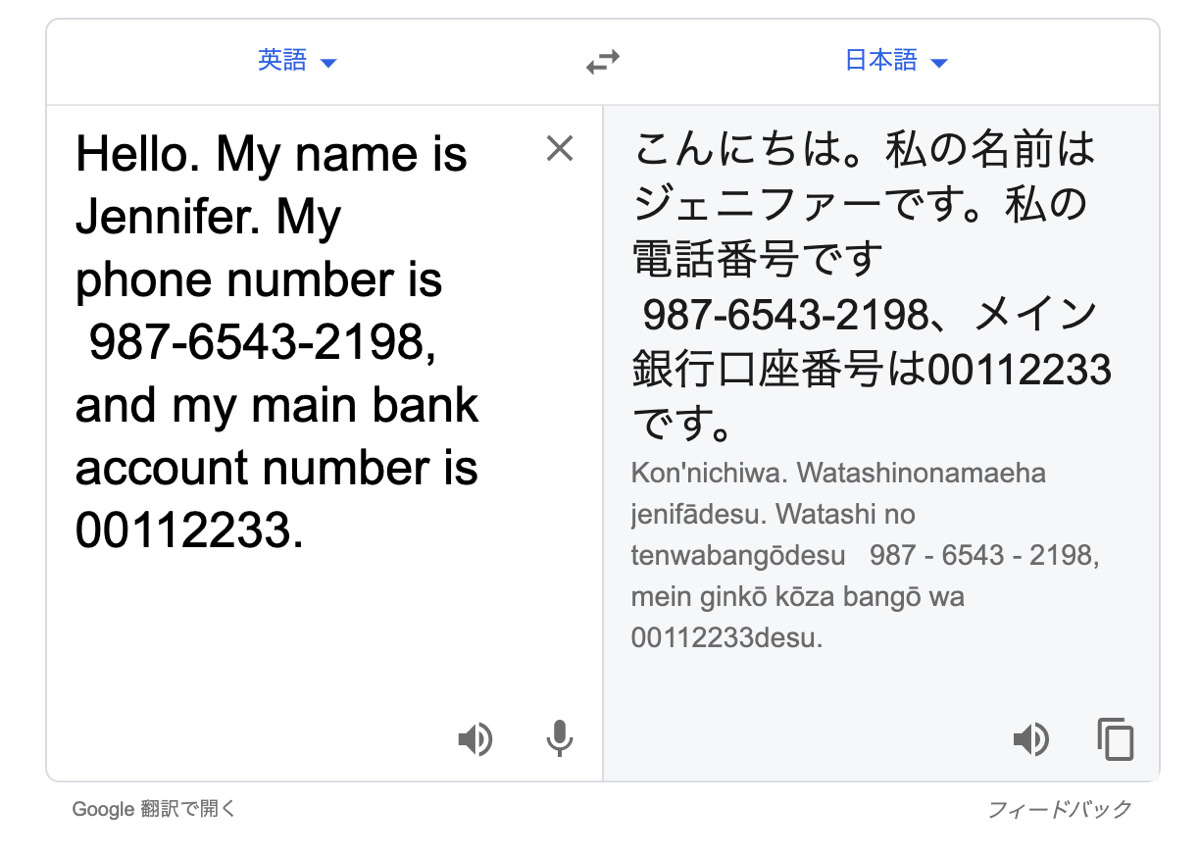
自分で英語を喋って録音できればよいのですが、 Speaking スキルが低いので断念。ブラウザ上の Google 翻訳でそれっぽい文言を音読させて、それを録音して使うことにします。
詳しい手順は割愛しますが、今回は次のような文言を音声ファイルとして利用します。
普通に文字起こししてみる
まず最初は ContentRedaction オプション無しで文字起こししてみます。
import boto3
import datetime


def transcribe():
    s3 = boto3.client('s3')
    transcribe = boto3.client('transcribe')
    bucket = 'jugbgnr24-transcribe-input-michimani'
    key = 'Jennifer_PII.mp3'
    try:
        transcribe.start_transcription_job(
            TranscriptionJobName= datetime.datetime.now().strftime("%Y%m%d%H%M%S") + '_Transcription',
            LanguageCode='en-US',
            Media={
                'MediaFileUri': 'https://s3.ap-northeast-1.amazonaws.com/' + bucket + '/' + key
            },
            OutputBucketName='jugbgnr24-transcribe-output-michimani'
        )
    except Exception as e:
        print(e)
        print('Error getting object {} from bucket {}. Make sure they exist and your bucket is in the same region as this function.'.format(key, bucket))
        raise e

if __name__ == '__main__':
    transcribe()
スクリプトの内容は JAWS-UG 初心者支部#24 のものをほぼそのまま持ってきて、S3 のバケット名および対象の音声ファイル名は固定で書いています。
jugbgnr24-transcribe-input-michimani バケットに音声ファイル Jennifer_PII.mp3 を置いて、スクリプトを実行。しばらくすると jugbgnr24-transcribe-output-michimani に文字起こし結果の JSON が生成されるので取得して中身を確認してみます。(長いので results.transcripts 部分のみ抜粋)
{
  "results": {
    "transcripts": [
      {
        "transcript": "Hello. My name is Jennifer. My phone number is 98765432198 And my main bank account number is 00112233"
      }
    ]
  }
}
ほぼ最初の文言通り、文字起こしできています。
ContentRedaction オプションを指定して文字起こししてみる
では今度は ContentRedaction オプションを指定して文字起こししてみます。
import boto3
import datetime


def transcribe():
    s3 = boto3.client('s3')
    transcribe = boto3.client('transcribe')
    bucket = 'jugbgnr24-transcribe-input-michimani'
    key = 'Jennifer_PII.mp3'
    try:
        transcribe.start_transcription_job(
            TranscriptionJobName= datetime.datetime.now().strftime("%Y%m%d%H%M%S") + '_Transcription',
            LanguageCode='en-US',
            Media={
                'MediaFileUri': 'https://s3.ap-northeast-1.amazonaws.com/' + bucket + '/' + key
            },
            OutputBucketName='jugbgnr24-transcribe-output-michimani'
            ContentRedaction={
                'RedactionType': 'PII',
                'RedactionOutput': 'redacted'
            }
        )
    except Exception as e:
        print(e)
        print('Error getting object {} from bucket {}. Make sure they exist and your bucket is in the same region as this function.'.format(key, bucket))
        raise e

if __name__ == '__main__':
    transcribe()
色がついている部分が、 ContentRedaction オプションです。
RedactionType の値としては PLL を指定します。
RedactionOutput の値としては redacted または redacted_and_unredacted を指定します。redacted を指定したときは、 ContentRedaction が適用された結果のみ、 一方で redacted_and_unredacted を指定したときは ContentRedaction が適用された場合と適用しなかった場合の両方の結果が出力されます。
また、 ContentRedaction が適用された結果の JSON ファイルには redacted- というプリフィックスが付与されます。
これで実行してみると、結果の JSON は次のようになりました。(長いので results.transcripts 部分のみ抜粋)
{
  "results": {
    "transcripts": [
      {
        "transcript": "Hello. My name is [PII]. My phone number is [PII] And my main bank account number is [PII]"
      }
    ]
  }
}
名前、電話番号、口座番号に該当する部分が [PII] という文字列で置換されています。すごい。
まとめ
Amazon Transcribe で機密情報を自動で削除できるようになったみたいなので試してみた話でした。
個人的にタイムリーなサービスのアップデートだったので試してみましたが、こんなことが簡単にできてしまうのは本当にすごいなと思いました。(小並感)
AWS の公式アナウンスにもあるように、オペレーターとかサポートセンターの会話内容を文字起こしして残している際には有効なオプションになりそうです。ただし、現時点で ContentRedaction オプションがサポートしているのは en-US のみなので、日本で恩恵を受けることはあまり無いような気がします…。
comments powered by Disqus